Rigging and Weight painting
One piece of Mesh
Weight distribution: red(more) to blue (less)
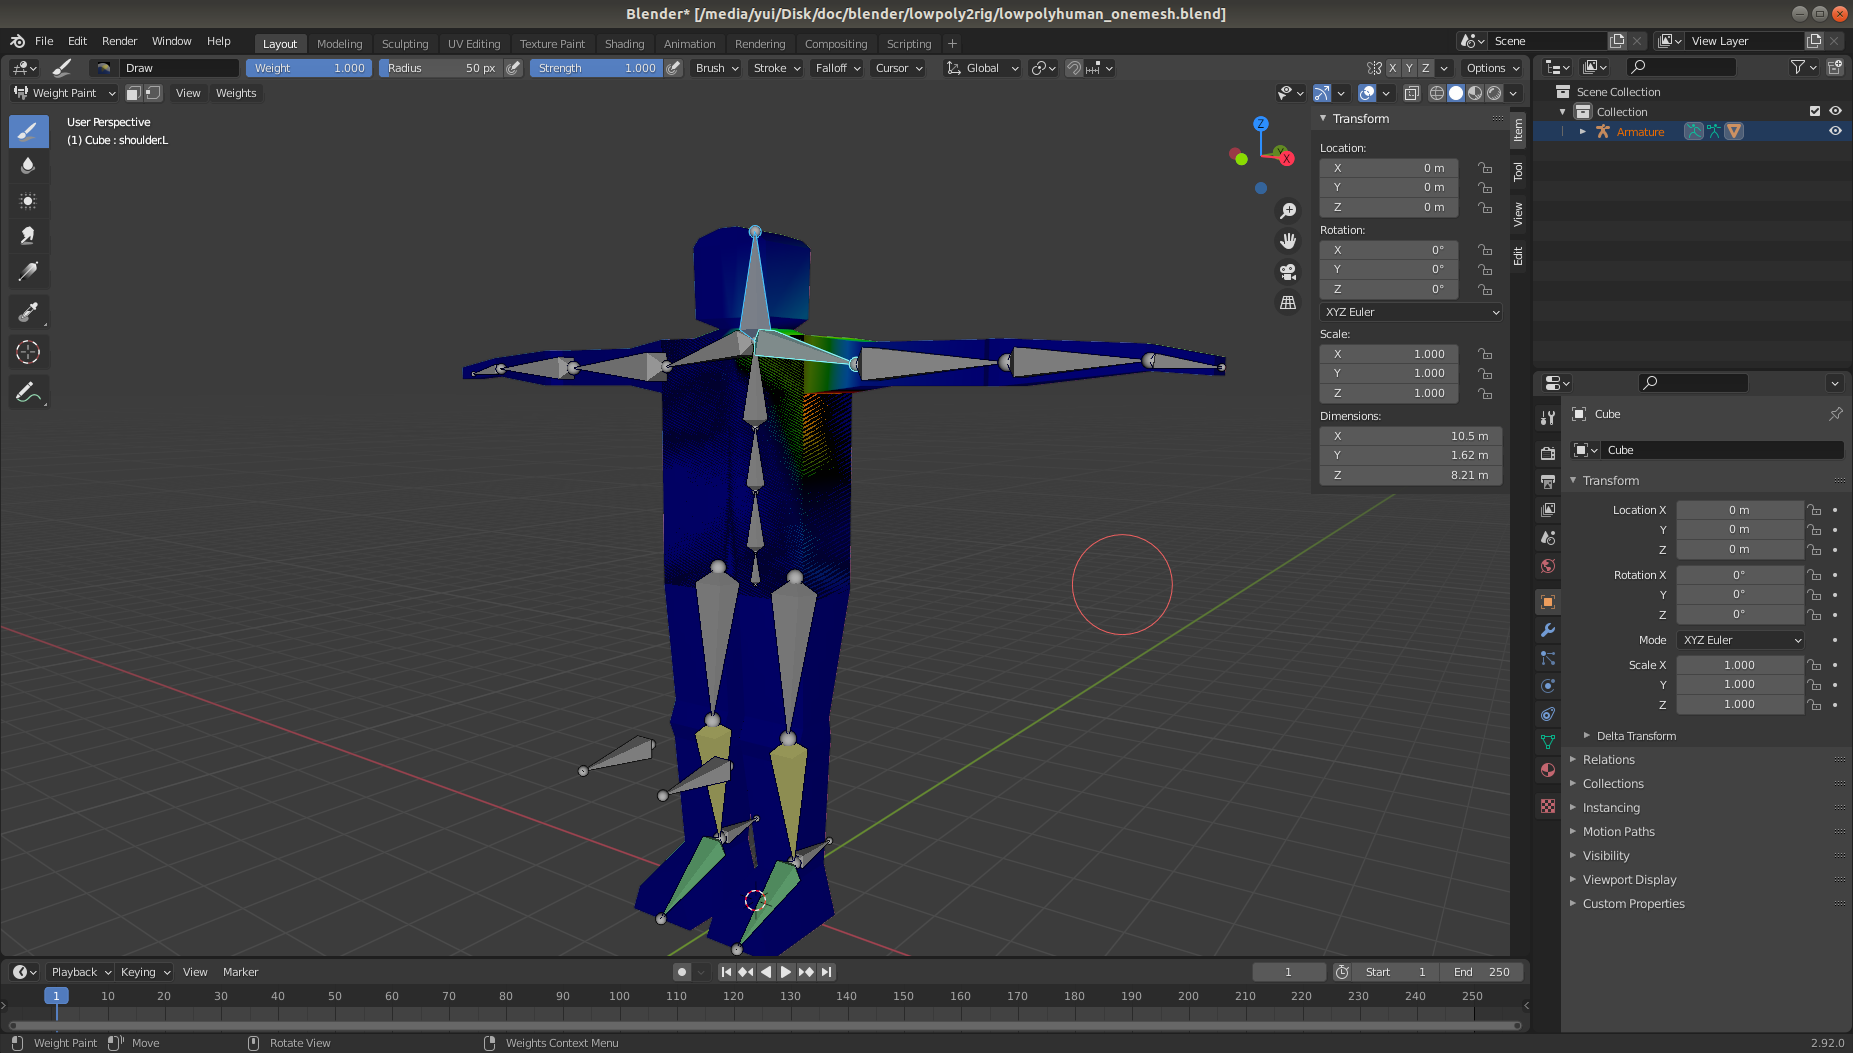
- Object Mode → Select body then bone → Ctrl+P → Automatic Weights
- Select bone → Alt+P → Disconnect Bone (can remain parent) / Clear Parent
- Need poles for leg and hip joint, and leg and foot joint. Remember to uncheck deform.
- leg needs Under Pose Mode, add Inverse Kinematics → Target and Pole Target are Amature, Bone 1 is foot pole and Bone 2 leg pole. Pole Angle needs adjustment if any distortion, chain length = 2.
- foot needs add Copy Rotation, Invert Y and Z, uncheck Inherit Rotation. Target: Armature, and Bone footpole, Target and Owner are Local Space.
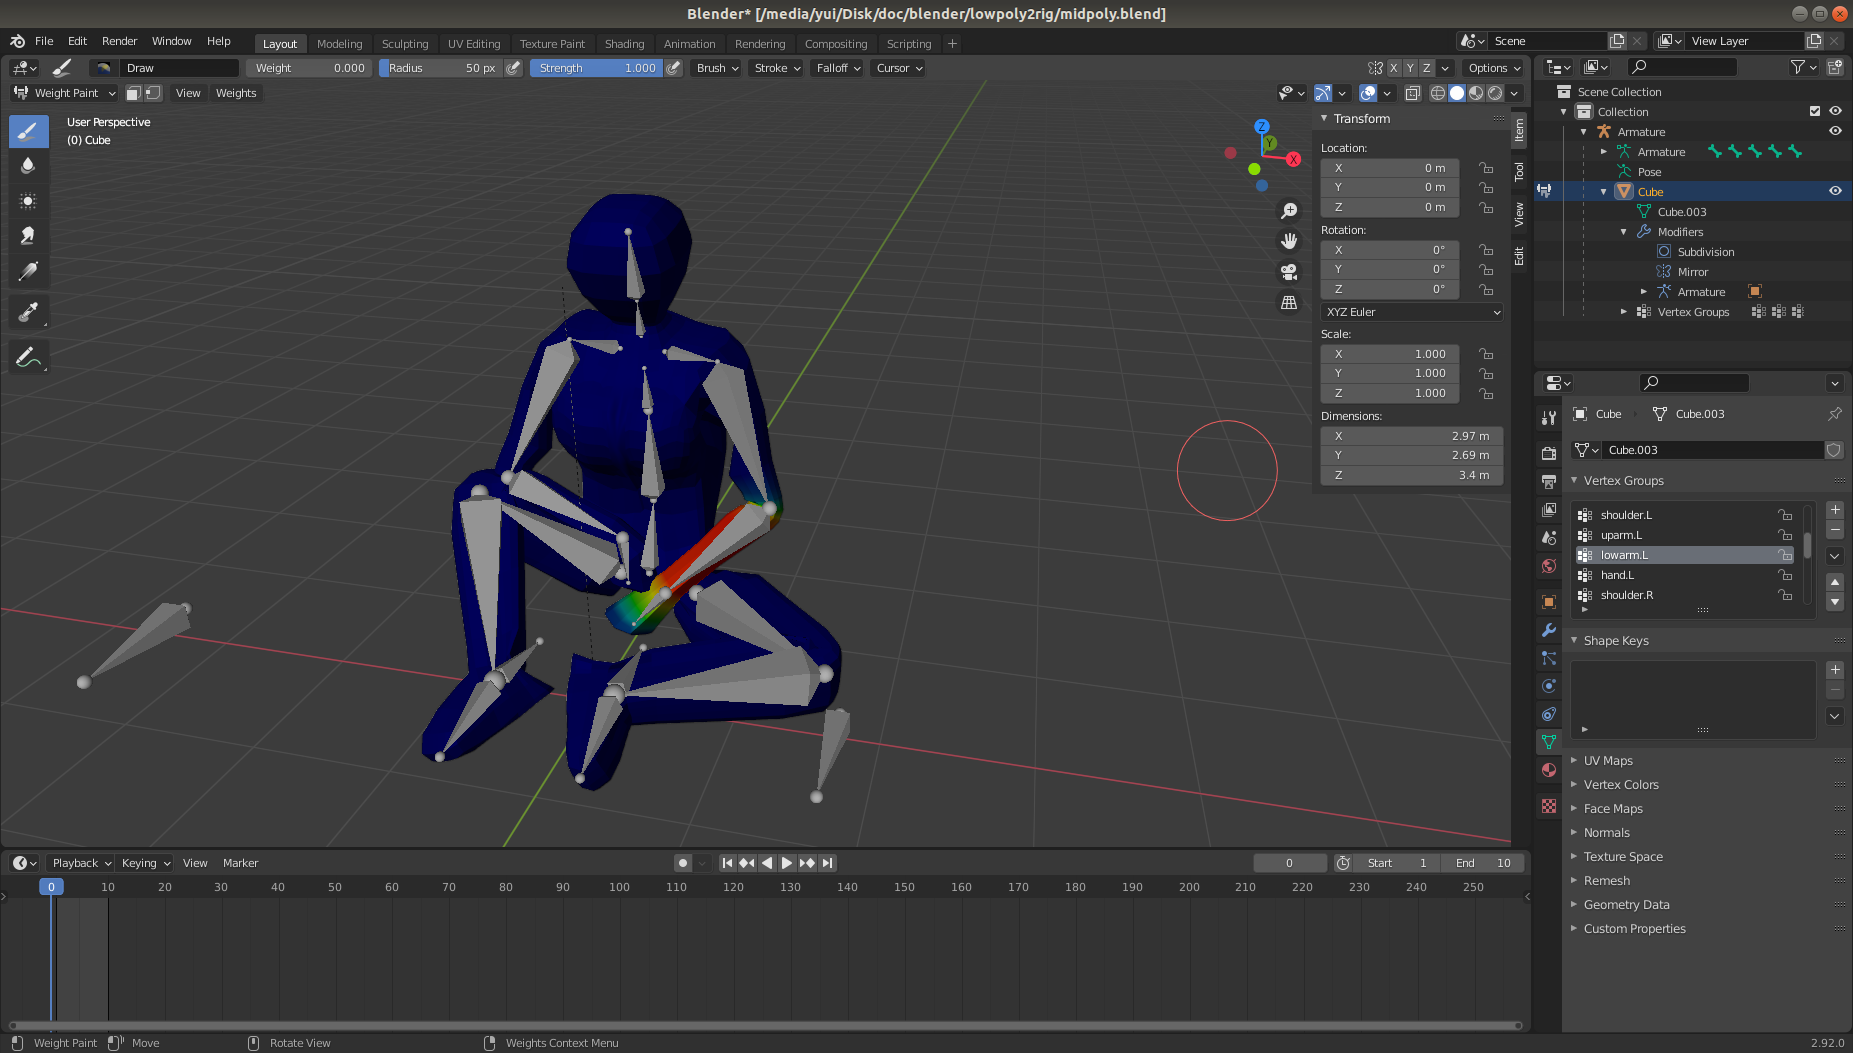
Multi pieces of Mesh
Useful shortcut keys
- Tab: switch mode between Object and Edit
- Alt+Z: X-ray mode
- G: Grap (Move), can expand a point in or out.
- R: Rotate
- S: Scale
- A: Select All
- Shift+A: Add object
- Shift+D: Duplicate object
- Shift+C: Reset Cursor
- Ctrl+A: Apply
- Shift+Right Click: relocate cursor
- X,Y,Z: Can lock to specific axis
- Numberpad 3:X,1:Y,7:Z align to axis
- Shift+A → Amature: add bone
- E: Extrude (bone)
- O+?: Cancel ?
- Ctrl+Tab: Next next mode
- Edit → Preferences → Add-ons ⋺ Search: enable add-ons
- Select Amature Layer → Ctrl+P → With Automatic Weights: Assign automatic weight
- Under Object Mode → Select Skin layers you need and Armature → Under Pose Mode → Shift Select that one specific bone → Ctrl+P → Bone: Option2 Assign Bone if automatic weight does not work
- Ctrl+P → Keep offset: pairing and connecting but keep distance.
- Ctrl+A → Rotations → Shift+D → S → X → -1: Copy the object and reflect along X?
- Shift D → G+X → Remain Select → Right click → Mirror → Along X-axis: duplicate and mirror along X
Rigify Method
- Edit → Preferences → Search rigify
- Object Mode → Shift+A → Armature → Basic Human (Meta Rig)
- Make sure scale and apply scale Ctrl+A
- After arranging all the bones to their responsive locations, go to armature metarig sidetab at right → Rigify Buttons → Generate Rig
- Then apply automatic weighting.
Sculpted Mesh vs Poly Modeling Mesh
- K: cut, space: to stop cut